Back
Watch Video
Give the post a title and click add.

By clicking green edit button on the righthand side you will go directly to the page where you can create or edit your content.
Clicking remove (red x) it will remove the page from the list.


Click choose file to add individual images or a zip file of multiple images to the post. Images once uploaded, can be dragged and dropped to be re-ordered.
Click on edit in the top left of any image to edit the caption, order, enable/disable, and remove.
Click select all/none to select all images or click the box in the top right corner of any image to select individual images. Bulk actions can be applied to selected images including: enable, disable, remove, restore, and delete.
Add a name (for internal reference only).
Add video url from YouTube or Vimeo and click “Add Video”
Click on the green edit button to edit the video details including: name, url, order, enable/disable, and remove.
Click on the remove button (red x) to remove the video from the list in PULSE. Use the show removed button to recover removed videos.
In the search options, clicking on Include Removed checkbox will show all posts that have been removed which can then be restored if needed.
All removed items will be displayed in red in the list.
PULSE User Guide / Blog Module
Blog Module
The blog module is where updates, news, and articles can be added to the website.Blog
Introduction
Blocks allows users to override the header and footer HTML blocks on the website in addition to building custom html blocks throughout the website.Video and PDF Download
Watch Video
Add a Post
Click on [+] Add a blog post to create a new entry.Give the post a title and click add.
By clicking green edit button on the righthand side you will go directly to the page where you can create or edit your content.
Clicking remove (red x) it will remove the page from the list.
Tip:
The title will be public facing.Tip:
Add at least one photo so the blog post preview has an image to display.Edit a Post
This is for scheduling, customizing the options, and adding content to the blog post.
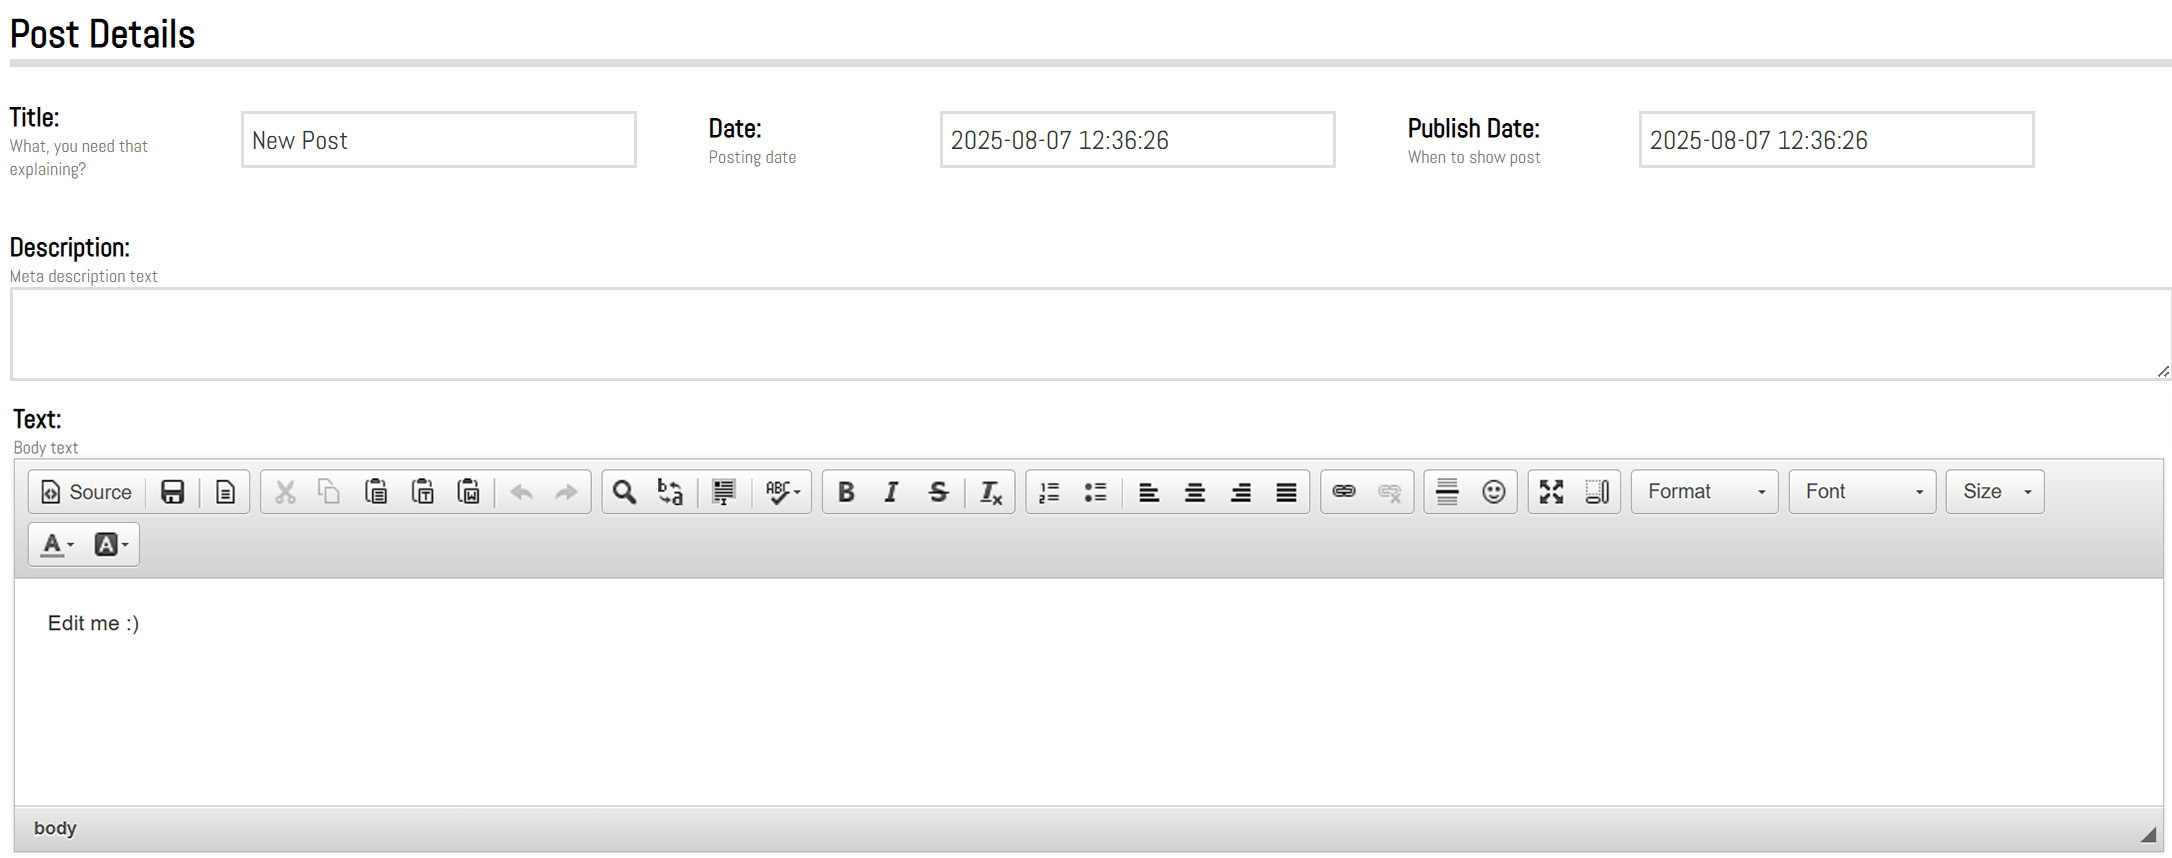
Post Details
Title
For the post (this will be public facing).Date
For the post (this will be public facing).Publish date
To schedule the post to go live at a future date.Tip:
The post must be enabled for it to be scheduled and go live at a future date.Tip:
Any date in the past, if enabled will make the post live immediately.Description
is a meta description for SEO.Text
is where the body content of the post goes. This can be plain text or HTML. Click on source to edit in HTML.Post Options
Categories
Allows the post to be categorized by keyword.Show date
This checkbox will show the posting date on the post.Featured
This checkbox will show the post in the header as featured.Sticky
This checkbox will keep the post at the top of the list.Enabled
This checkbox to enable/disable the post.Tip:
To schedule a post, the enable check box must be checked. If there is a date set in date hide field, the post will be disabled however it will still show as checked (enabled). This can be unchecked at any point and the date can be removed to clean up if desired.Removed
This checkbox removes the post from the blog in PULSE.Photos
Click choose file to add individual images or a zip file of multiple images to the post. Images once uploaded, can be dragged and dropped to be re-ordered.
Click on edit in the top left of any image to edit the caption, order, enable/disable, and remove.
Click select all/none to select all images or click the box in the top right corner of any image to select individual images. Bulk actions can be applied to selected images including: enable, disable, remove, restore, and delete.
Action
Enable
Will set the image live and viewable.Disable
Will remove the image from the post, but it will remain in PULSE as disabled.Remove
Will remove the image from the post and remove it from the list of images in PULSE.Tip:
Removed photos can be seen by clicking the show removed button.Restore
will restore images that were removed from PULSE. These images can be found by clicking the show removed button before restoring the selected images.Delete
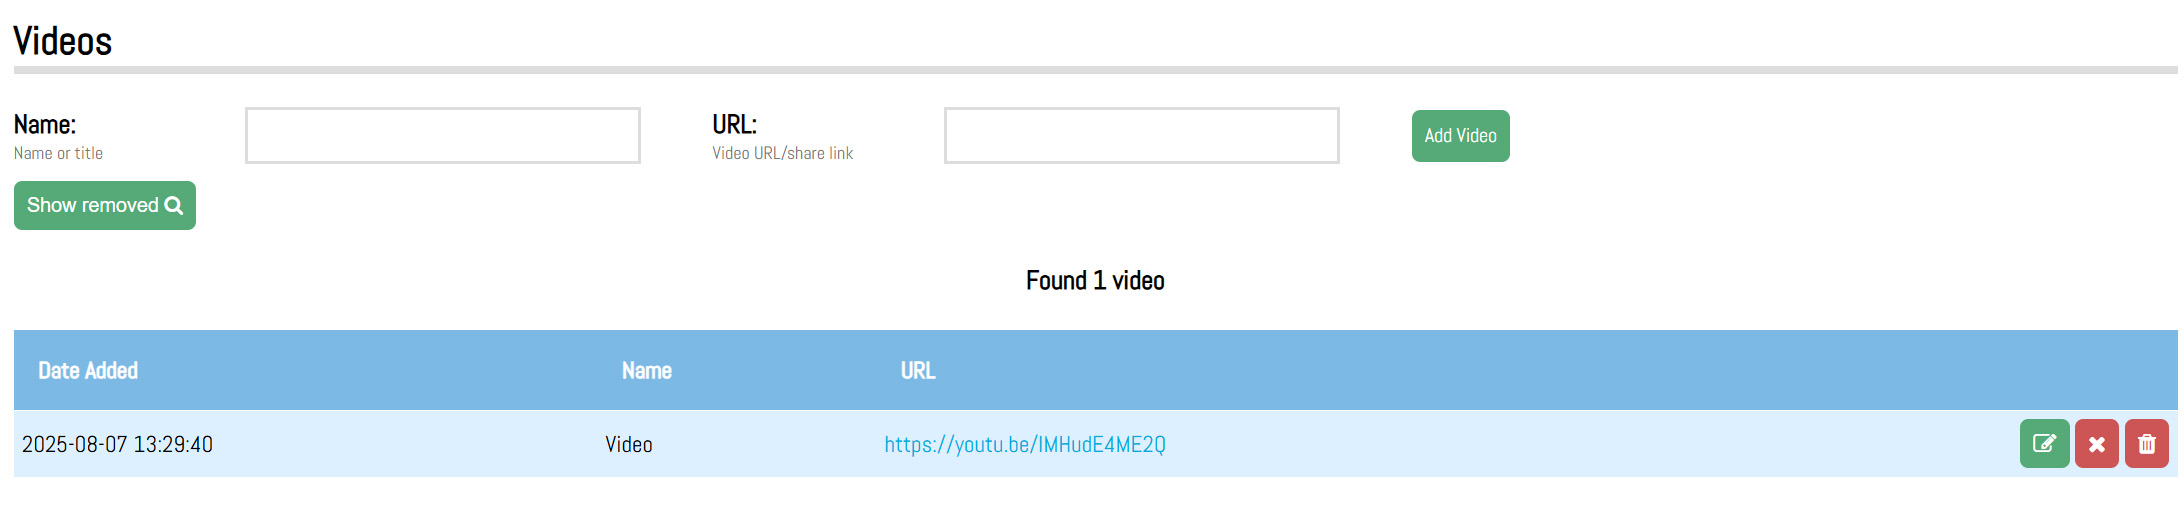
will entirely remove the image.Videos
Add a name (for internal reference only).
Add video url from YouTube or Vimeo and click “Add Video”
Click on the green edit button to edit the video details including: name, url, order, enable/disable, and remove.
Click on the remove button (red x) to remove the video from the list in PULSE. Use the show removed button to recover removed videos.
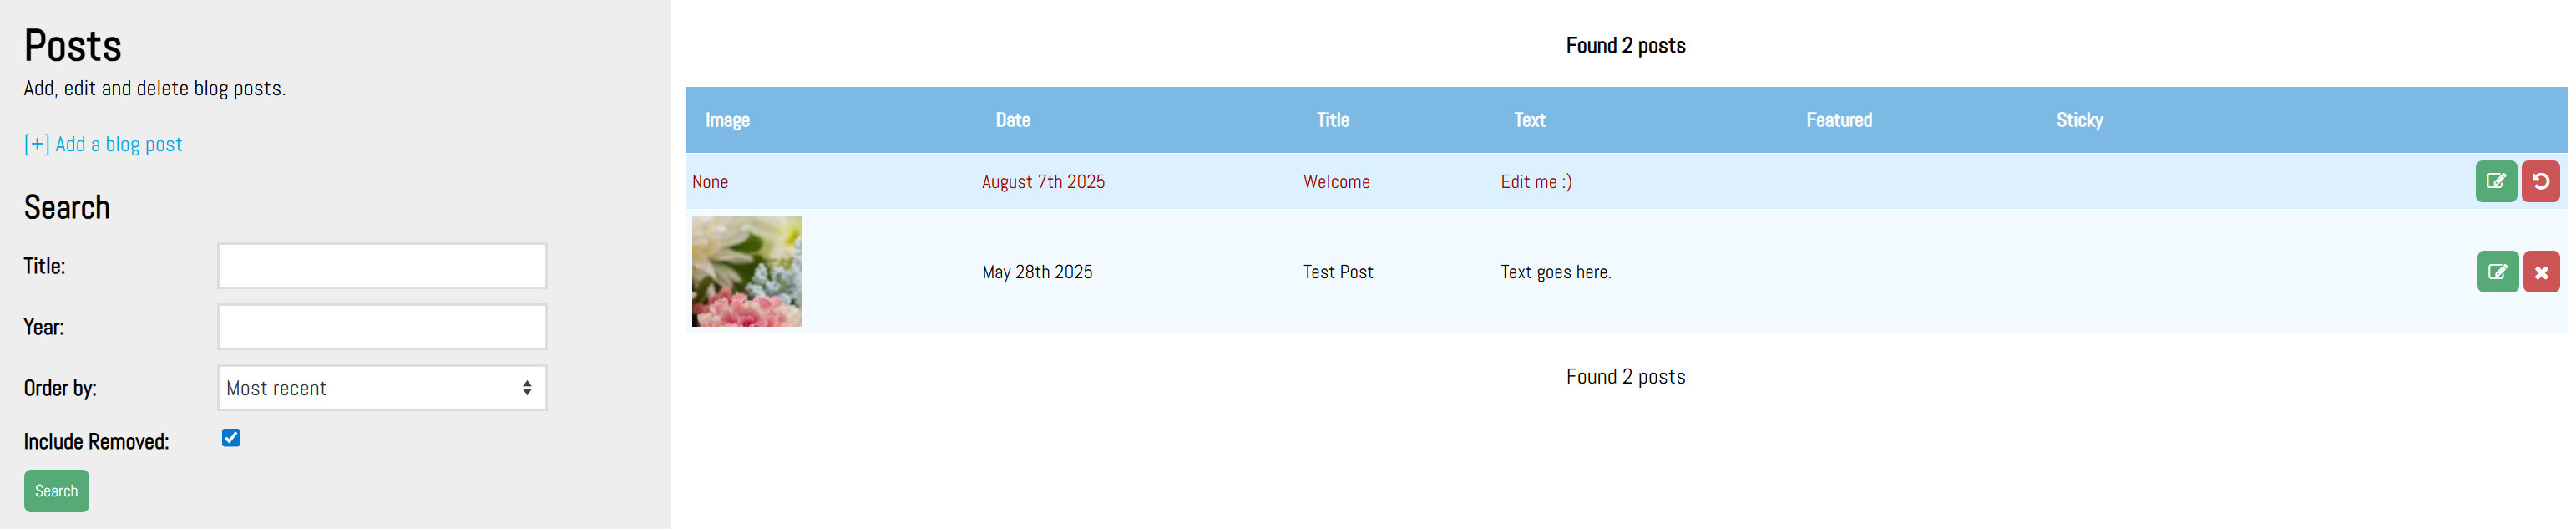
Remove a Post
Clicking remove (red x) on the right hand side will remove the gallery from the list. PULSE will prompt to confirm.In the search options, clicking on Include Removed checkbox will show all posts that have been removed which can then be restored if needed.
All removed items will be displayed in red in the list.